Why Your African Vocal Recordings Sound Bad (And 7 Quick Fixes)
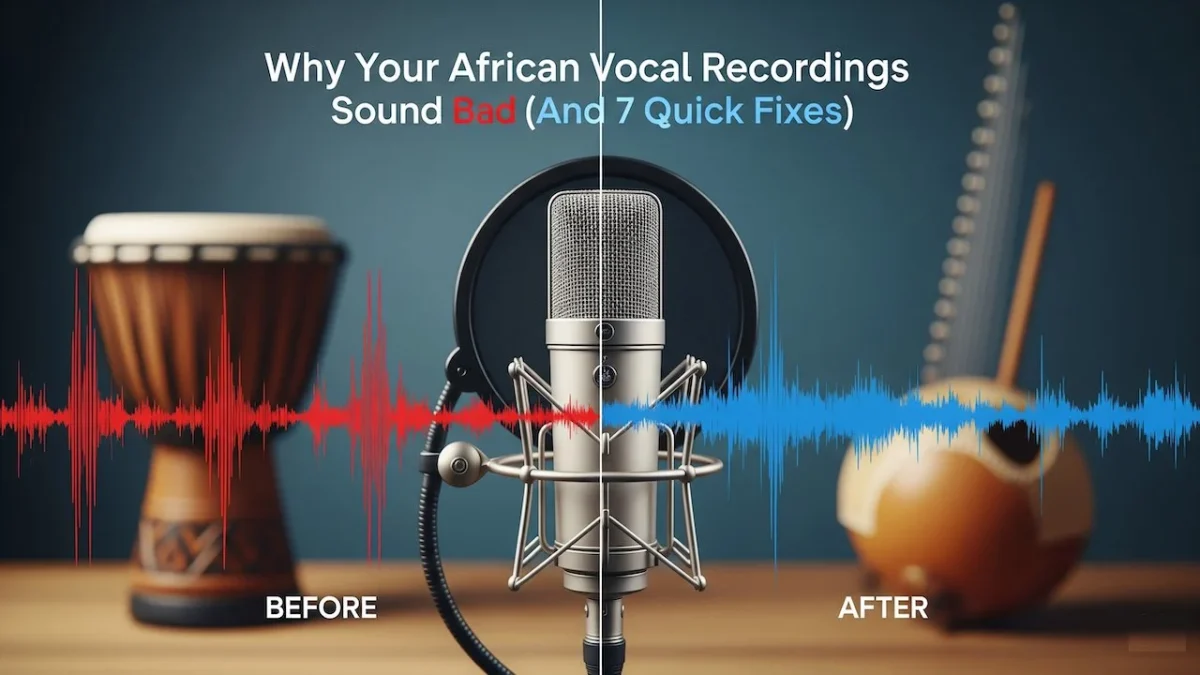
Your African vocal recordings sound bad because of poor mic placement, inadequate room treatment, incorrect gain staging, and lack of proper vocal preparation. Most recording problems stem from technical issues that can be fixed with simple adjustments to equipment setup and recording techniques. These 7 proven fixes will transform your vocal recordings from amateur to professional quality.
African vocal music carries rich cultural heritage and unique tonal qualities that require specific recording approaches. Many producers struggle with capturing authentic African vocal performances due to common technical mistakes that muddy the sound, create unwanted noise, or fail to preserve the natural character of traditional vocal techniques.
1. Fix Your Microphone Distance and Positioning
Position your microphone 6-8 inches from the vocalist’s mouth at a slight downward angle. Many African vocal recordings suffer from proximity effect, where bass frequencies become overpowering when the singer gets too close to the microphone.
For traditional African vocal styles like call-and-response patterns or harmonic singing, maintain consistent distance throughout the performance. Use a pop filter 4-6 inches from the microphone to prevent plosive sounds that commonly occur with strong consonants in African languages.
| Microphone Distance | Effect on Sound | Best For |
|---|---|---|
| 2-4 inches | Proximity effect, muddy bass | Never recommended |
| 6-8 inches | Clear, balanced tone | Solo vocals, lead singers |
| 12+ inches | Room sound, less intimacy | Choir recordings, ambient vocals |
2. Control Your Recording Environment
Record in a treated space with minimal reflections to capture clean African vocal performances. Hard surfaces create echoes that interfere with the natural resonance of African vocal techniques, particularly when recording traditional chanting or yodeling styles.
Hang thick blankets or use acoustic panels on walls behind and beside the vocalist. Avoid recording in bathrooms, empty rooms, or spaces with parallel walls that create standing waves. For authentic African vocal recordings, you want to preserve the natural tone without unwanted room coloration.
Quick Room Treatment Solutions
- Place thick blankets on stands around the recording area
- Record in a closet full of clothes for natural absorption
- Use a reflection filter behind the microphone
- Position the vocalist away from walls and corners
3. Set Proper Input Gain Levels
Keep your input levels between -18dB and -12dB to avoid digital distortion. African vocal performances often include dynamic ranges from whispered passages to powerful calls, requiring careful gain staging to capture the full expression without clipping.
Test the loudest sections of the performance before recording. Set your gain so peak levels never exceed -6dB during the most intense vocal passages. This headroom prevents distortion while maintaining clean signal quality throughout the entire performance.
| Gain Level | Result | Action Needed |
|---|---|---|
| Above -6dB | Digital distortion risk | Lower input gain immediately |
| -18dB to -12dB | Clean recording zone | Perfect level, proceed |
| Below -24dB | Too quiet, noise floor issues | Increase input gain |
4. Address Vocal Preparation Issues
Have vocalists perform vocal warm-up exercises 15-20 minutes before recording. Many African vocal recordings suffer from strain or inconsistent tone because singers attempt complex traditional techniques without proper preparation.
Focus on breath control exercises and scales that match the vocal range required for the performance. Practice speech-level singing techniques to maintain vocal consistency throughout extended recording sessions, especially when capturing repetitive chanting patterns or sustained harmonic vocals.
Essential Warm-Up Routine
- Humming exercises to engage resonance
- Lip trills for breath support
- Scale exercises in the song’s key
- Phrase rehearsal at half volume
5. Eliminate Background Noise and Interference
Turn off air conditioning, fans, and electronic devices during recording. Background noise competes with the subtle nuances of African vocal performances, masking important cultural elements like vocal ornamentations and microtonal variations.
Use a noise gate plugin set to -40dB to automatically cut low-level noise between vocal phrases. Record room tone for 30 seconds to help with post-production noise removal if you cannot eliminate all ambient sounds during the session.
6. Choose the Right Microphone Type
Use large-diaphragm condenser microphones for detailed African vocal recordings. These microphones capture the full frequency spectrum needed for traditional vocal techniques, including the rich harmonics present in African musical styles.
Dynamic microphones work better for high-energy performances or when recording in untreated spaces. Avoid using built-in computer microphones or headset mics as they lack the frequency response needed to properly represent African vocal tones and textures.
Microphone Recommendations by Vocal Style
- Solo ballads: Large-diaphragm condenser
- Call-and-response: Dynamic microphone
- Choir recordings: Stereo condenser pair
- Traditional chants: Ribbon microphone
7. Apply Proper EQ and Processing Techniques
Use subtractive EQ to remove problematic frequencies rather than boosting desired ones. African vocal recordings benefit from removing muddy frequencies around 200-400Hz and harsh resonances that mask the natural voice character.
Apply a high-pass filter at 80-100Hz to eliminate low-frequency rumble and proximity effect. Cut frequencies around 500-800Hz if the vocals sound boxy or nasal. Gentle compression with a 3:1 ratio helps maintain vocal consistency while preserving dynamic expression.
| Frequency Range | Common Issues | EQ Action |
|---|---|---|
| Below 100Hz | Rumble, proximity effect | High-pass filter |
| 200-400Hz | Muddy, unclear vocals | Gentle cut |
| 2-5kHz | Harsh, aggressive sound | Narrow cut if needed |
| 8-12kHz | Lack of presence | Gentle boost for clarity |
People Also Ask
African vocal recordings feature unique harmonic structures, microtonal variations, and call-and-response patterns that require specific recording techniques to capture authentically. Traditional African vocal styles often include vocal techniques like ululation, throat singing, and complex polyrhythmic patterns.
Large-diaphragm condenser microphones capture the full frequency spectrum of African vocals most effectively. Popular choices include the Audio-Technica AT2020, Rode PodMic, and Shure SM58 for different recording environments and vocal styles.
Position two condenser microphones in an X-Y configuration 8-10 feet from the choir. This technique captures natural stereo imaging while maintaining phase coherence between the multiple voices in traditional African harmonic singing.
Use minimal acoustic treatment to preserve natural vocal resonance while controlling reflections. Hang blankets behind the vocalist and use bass traps in room corners to manage low-frequency buildup without over-damping the space.
Apply a high-pass filter at 100Hz and cut frequencies around 300-500Hz. Muddy vocals usually result from proximity effect or room resonances that can be corrected with subtractive EQ techniques during mixing.
Set input gain so peaks reach -12dB to -6dB during the loudest vocal passages. African vocal performances often include wide dynamic ranges from whispered sections to powerful calls, requiring careful gain staging to capture the full expression.
Minimize processing and focus on capturing clean performances with proper microphone technique. Avoid excessive compression or artificial reverb that can mask the natural characteristics of traditional African vocal styles and cultural authenticity.
Use transparent EQ plugins and gentle compressors that preserve vocal character. Focus on subtractive EQ techniques and light compression to maintain the dynamic expression and tonal qualities inherent in African vocal performances.


